Seed Tips
How to Blanch Peas for Perfect Flavor and Color: A Comprehensive Guide
Feb
Blanching peas is one of the easiest and most effective ways to preserve their sweet taste, vibrant color, and tender texture. Whether you’re a home gardener bursting with fresh pea harvests or a home cook who spotted a great deal at the farmers’ market, learning how to blanch peas can save you time, money, and mealtime disappointment. This guide will walk you step by step through the blanching process, including why it matters, the tools and ingredients you need, and plenty of tips and tricks to ensure your peas taste great for months to come.
Why Blanching Peas Matters
If you have ever tossed fresh peas directly into the freezer without any preparation, you might have noticed they develop an odd texture, lose their color, or even end up tasting bland or starchy. The reason is that peas (like many fresh vegetables) contain natural enzymes that cause them to continue maturing even after being picked. As time passes, these enzymes break down the peas’ sugars and alter their texture, potentially robbing them of their trademark sweetness and bright color.
Blanching halts this process. By quickly exposing the peas to boiling water, then cooling them immediately in an ice bath, you inactivate the enzymes and maintain peas’ flavor, color, and nutrition. This technique helps them stay at their peak longer—whether you freeze them or serve them right after blanching. It’s no wonder many professional chefs and savvy gardeners rely on blanching to preserve vegetables.
Note: Overcooked peas can quickly become mushy and grayish-green. That’s why timing is so important. By following the exact steps for blanching, you ensure peas remain firm yet tender, never squishy or dull. If peas sit too long, their natural sugar begins to turn into starch. Blanching as soon as possible (ideally right after harvest or purchase) locks in their sweet flavor, so your peas taste garden-fresh even in the dead of winter.
Understanding Your Pea
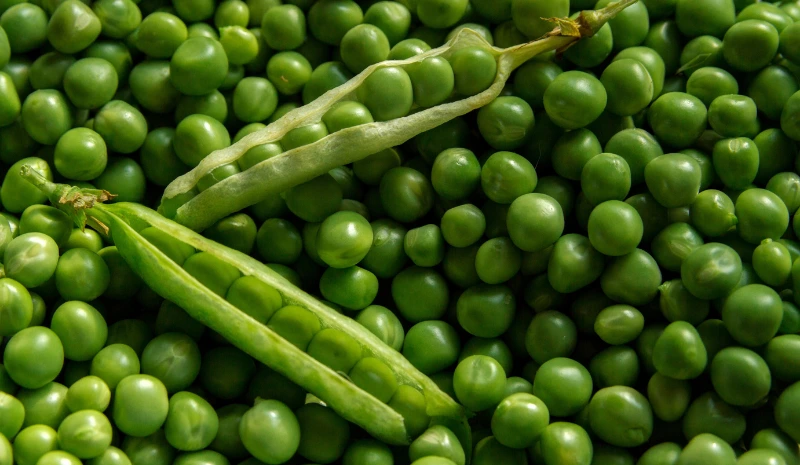
Not all peas are created equal. While English peas (also known as shelling peas or garden peas) are the classic choice for blanching, you can also blanch snap peas and snow peas to keep them crisp for stir-fries and salads. Still, most people who search “how to blanch peas” are referring to shelled English peas. These peas are removed from their pods before blanching. Snap peas and snow peas are often blanched in their pods to maintain crunchy texture.
If you grow your own peas in the garden, you’ll recognize the prime moment for picking: pods should feel full but not bulging. If you buy peas at a farmer’s market or grocery store, look for pods that appear plump and bright green, without wrinkles or brown spots. Focusing on freshness makes a big difference once you blanch and preserve them.
Tools and Ingredients You Will Need
Blanching peas doesn’t require fancy equipment. In fact, you likely have everything you need already:
- A large stockpot: This will hold enough boiling water to submerge your peas completely.
- A large bowl of ice water: This “shocks” the peas after blanching, keeping them from overcooking.
- Colander: To drain peas quickly before transferring them to the ice bath, and again afterward.
- Baking sheet with raised edges (optional but helpful): Laying peas in a single layer makes it easier to freeze them without clumping, if freezing is your goal.
- Kitchen towels or paper towels: For gently patting peas dry after they’ve cooled.
- Freezer-safe bags or containers (if freezing): Look for heavy-duty zip-top freezer bags or lidded containers that help prevent freezer burn.
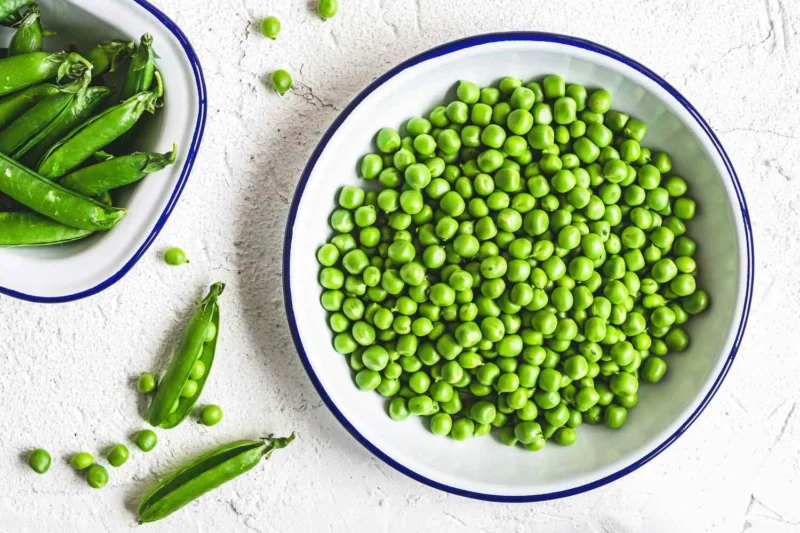
- Fresh peas: The star of the show! Make sure they’re shelled if you’re working with English peas, unless you’re blanching snap or snow peas in their pods.
The only “ingredient” besides peas is water—plus some ice cubes for your ice bath. You can add salt to your blanching water if you wish, but it’s not required. Some home cooks claim it helps flavor the peas slightly or keeps them bright, but the difference is minor.
Step-by-Step Guide: How to Blanch Peas
Blanching peas is straightforward, but the timing is critical. Follow these steps carefully, and your peas will stay sweet and vibrant.
Step 1: Prepare the Water and Ice Bath
- Fill a pot with water: Choose a large pot so the peas can move around freely. The more water, the better; this helps the water temperature stay high even after you add the peas.
- Bring the pot to a rolling boil: That means the water is bubbling aggressively. You want it truly boiling, not just simmering.
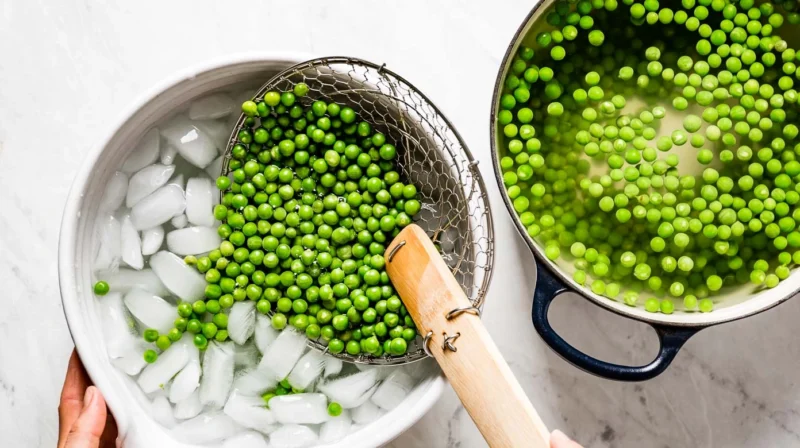
- Prepare your ice bath: Meanwhile, fill a large bowl with very cold water and plenty of ice cubes. Set it on the counter or somewhere near the stove for easy access.
Step 2: Shell the Peas (If Needed)
- If you have English peas, remove them from their pods. Pull the stem end and “zip” the pod open, then slide the peas out into a bowl.
- If you have snap peas or snow peas, you can often leave them in their pods, but many folks prefer to remove the tough stem or “string” along the pod’s seam.
Step 3: Blanch the Peas
- Add peas to the boiling water: Carefully drop them in. If you’re working with a large batch, consider blanching them in small, manageable portions so they don’t crowd the pot.
- Set your timer: You generally need 1 to 2 minutes. English peas usually need about 1 ½ minutes; snap peas and snow peas might need slightly less time if you prefer them crisp.
- Watch for color changes: The peas often turn a brighter shade of green as they blanch.
Step 4: Immediate Ice Bath
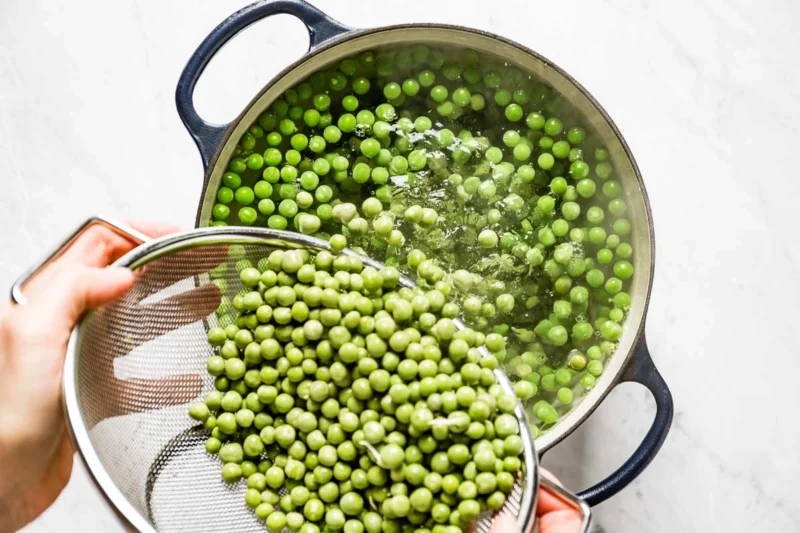
- Drain the peas quickly: Pour them into a colander.
- Transfer the peas to the ice water: Move them right away to the ice bath. You want to halt the cooking process so the peas don’t go limp.
- Cool them: Leave them in the ice bath for 2 to 3 minutes, gently stirring once or twice to ensure all peas are submerged and cooled.
Step 5: Drain and Pat Dry
- Drain again: Pour off the ice water using your colander.
- Pat the peas dry: Use a clean kitchen towel or paper towels. This helps reduce any moisture that can lead to freezer burn if you’re freezing them.
At this point, your peas are blanched and ready to use in recipes or to freeze for future meals. If you plan to eat them right away, a simple warm-up in a skillet with a little butter or olive oil is all you need.
The Freezing Process (If You Want to Preserve Them)
One of the biggest advantages to blanching peas is that it sets them up nicely for freezer storage. Properly frozen peas will keep for up to 8 months, preserving their sweetness and texture.
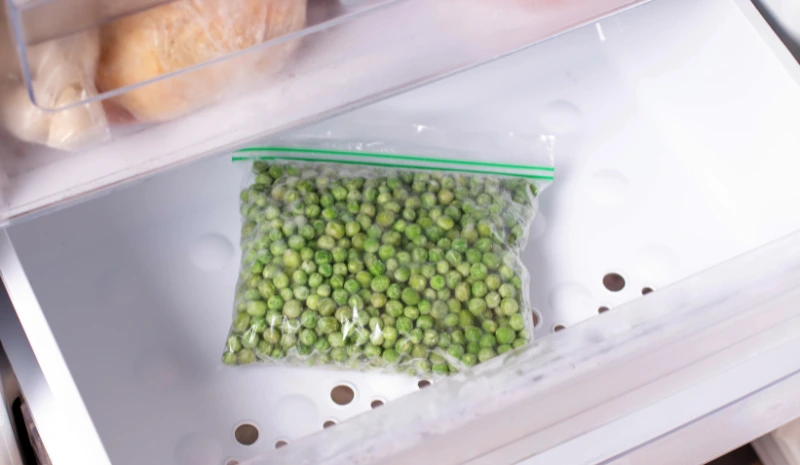
- Single-Layer Freeze: Spread your blanched and dried peas on a baking sheet with raised edges. Make sure they’re not piled on top of each other; you want a single layer so they won’t clump. Pop the sheet into the freezer for about 1 hour.
- Transfer to Freezer Bags: Once the peas are firm, pour them into heavy-duty freezer bags or containers. Label with the date so you’ll remember when you froze them.
- Squeeze Out Air: If using freezer bags, press out as much air as possible before sealing. Less air means less chance of freezer burn.
- Return to the Freezer: Store them in a spot where they’re unlikely to get crushed by heavier items.
Helpful Tip: If your freezer is large enough, you can do multiple trays at once, but avoid overloading the freezer with warm trays. If you have lots of peas, try doing them in batches.
If you want more details on long-term pea storage, be sure to read our freezing peas guide for additional tips.
Cooking Frozen Peas: Quick and Easy Ideas
One reason that blanching and freezing peas is so popular is their convenience in the kitchen. Frozen peas are a snap to prepare. You don’t need to thaw them first unless you’re making a cold salad or a recipe where you don’t want extra liquid.
- Simple Side Dish: Add frozen peas to a saucepan with a small amount of water or stock, heat until warmed through, drain, and then season with butter, salt, pepper, or herbs.
- Soups and Stews: Toss peas in during the last few minutes of simmering so they keep their bright color and don’t overcook.
- Casseroles: Stir peas directly into your casserole mixture before baking. They’ll heat up and cook perfectly in the oven.
- Stir-Fries: Thaw peas briefly in lukewarm water or add them straight to the wok or skillet toward the end of cooking. A quick sauté is enough for them to become tender.
Extra Tips for Perfectly Blanched Peas
- Choose the Freshest Peas Possible: The best flavor starts at the source. Seek out bright green, firm pods, and avoid peas with signs of wilting, yellowing, or mold. If you grow your own, harvest in the cool of the morning for peak sugar content.
- Don’t Over-Blanch: A minute or two is all you need. Longer blanching can dull the color or make peas mushy. If you’re unsure, it’s better to err on the side of under-blanching because the ice bath will still stop enzyme activity as long as you’ve heated the peas sufficiently.
- Keep That Water Boiling: If you dump a large volume of peas into a small pot, the temperature can drop too much. This slows down the blanching process and can yield uneven results. If your pot isn’t large, try blanching peas in smaller batches.
- Use Enough Ice: Make sure your ice bath is really cold. Lukewarm water won’t stop the cooking as effectively, so top up with extra ice cubes if needed.
- Label Your Freezer Bags: It’s easy to forget dates, but your future self will thank you when you know exactly how long those peas have been chilling. You can also note whether they’re English peas, snap peas, or snow peas if you freeze more than one variety.
Gardener Insights: When and How to Harvest
If you’re a gardener eager to preserve your homegrown bounty:
- Harvest Time: Most garden peas are ready to pick about 60 to 70 days after sowing, though this varies by variety. Aim to harvest before the peas get too large, as they can become starchy.
- Frequency: Pick peas every couple of days once they start producing. Regular picking encourages the plant to keep flowering and setting pods.
- Same-Day Blanching: For maximum sweetness, process them as soon as possible after picking. The sugar-to-starch conversion starts rapidly once peas are off the vine.
Common Mistakes and How to Avoid Them
- Skipping the Ice Bath
Some cooks think draining the peas is enough, but without an immediate chill, residual heat will keep cooking the peas. This leads to bland color and mushy texture. - Not Drying Peas Before Freezing
Excess water leads to ice crystals, which can cause freezer burn and clumping. Pat them dry gently with a towel or let them air-dry for a few minutes before freezing. - Using a Small Pot of Water
When you place peas into a small pot, the water temperature can drop too much. Always aim for plenty of boiling water, or blanch in smaller batches to keep the water at a vigorous boil. - Over-Blanching
Adding an extra minute or two can seem harmless, but peas can quickly go from bright to dull. Stick to the recommended 1–2 minutes. - Forgetting to Label and Date
Even if you think you’ll remember, it’s amazing how easy it is to lose track of time. Mark your freezer containers so you know when you froze the peas.
Flavor Variations and Serving Suggestions
Add Aromatics
While you don’t need anything but water to blanch peas, you can add a pinch of salt or a sprig of mint to your blanching pot for a gentle flavor enhancement. Many gardeners adore the sweet, herbal aroma of mint paired with peas. Just note that it will be mild, and the main advantage remains the bright color and sweet pea flavor.
Ready-to-Go Meal Prep
Blanched peas can become a meal with minimal fuss:
- Pea and Herb Salad: Thaw the peas and toss them with soft herbs, olive oil, lemon juice, salt, and pepper. Add crumbled cheese, like feta or goat cheese, for a burst of tanginess.
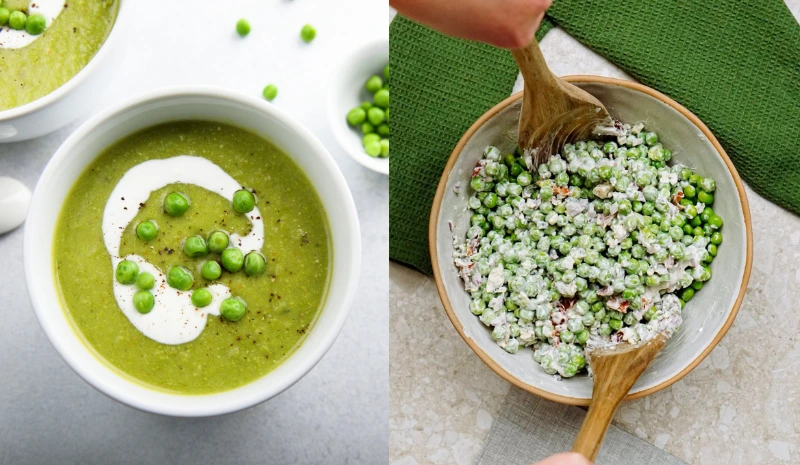
- Pea Puree: Warm the blanched peas, then blend them with a bit of cream or vegetable stock, plus garlic and herbs. You can serve this puree as a side dish or a sauce for pasta and meats.
- Quick Soup: Combine blanched peas with onions, broth, and a little butter. Simmer briefly, then blend for a creamy pea soup. Finish with a swirl of yogurt or sour cream.
Stir-Fry Companion
Both snow peas and snap peas are favorites in stir-fries. If you’ve blanched them, they’ll cook very quickly in your hot skillet or wok. Add them near the end for a crisp, fresh snap.
Frequently Asked Questions
Q1: Can I blanch peas that are a little old or wrinkly?
Yes, you can, but be aware that older peas might not taste as sweet or tender. If peas have started to yellow or turn mushy, it’s best to compost them or toss them out. Blanching can’t revive peas that are already past their prime.
Q2: Do I have to use a colander?
You can manage with a large slotted spoon to fish peas out of the boiling water and transfer them to the ice bath. However, a colander makes draining a full batch much quicker and more efficient.
Q3: Is salt in the blanching water necessary?
Salt is optional. Some people say it helps keep peas bright green or adds a bit of flavor. If you’d like to salt the blanching water, go ahead, but don’t worry if you prefer to skip it. It won’t ruin your peas.
Q4: How do I keep peas from getting freezer burn?
Make sure they are properly cooled and dried. Then store them in airtight bags or containers and remove as much air as possible. Minimizing air contact is key to reducing ice crystals and maintaining quality.
Q5: Can I blanch peas in the microwave?
Technically, you can partially cook peas in the microwave, but it’s harder to control the timing precisely. You also don’t get the quick, thorough chilling that comes from an ice bath. Stovetop blanching remains the best method to lock in color and flavor.
Final Thoughts
Blanching peas is a simple process that delivers big returns. By plunging peas into boiling water, then cooling them immediately in an ice bath, you lock in sweetness, vibrant color, and tenderness—all in a matter of minutes. This technique works beautifully for gardeners who want to store a bumper crop of peas, or for home cooks looking to stock the freezer with convenient, nutritious veggies.
Whether you opt for a classic side dish, a fresh pea salad, or a hearty soup, you’ll appreciate having blanched peas on hand. Gone are the days of reaching into the freezer and finding dull, freezer-burned clumps of peas. Now, you can enjoy a taste of spring or summer any time of year. By paying attention to the key blanching steps—using plenty of boiling water, chilling in ice water, drying thoroughly, and freezing properly—you’ll have sweet, beautifully green peas ready to brighten up your meals whenever you need them.
So, the next time you harvest peas from the garden or score a big bag at the farmers’ market, remember: a quick blanch can make all the difference. You’ll avoid mushiness, preserve flavor, and open the door to an array of time-saving meal ideas. Your future self will thank you for stocking the freezer with perfectly blanched peas, ensuring that every bowlful tastes like it was picked fresh from the vine.
Ready to Start Blanching?
- Gather your peas and supplies.
- Bring water to a rolling boil.
- Dunk your peas in for 1–2 minutes.
- Plunge them straight into ice water.
- Drain, dry, and freeze (or cook right away).
That’s all it takes to safeguard peas’s vibrant color and sweet taste. You’ll love how easy it is to enjoy garden-fresh flavors all year round!