Gardening Tips
The Ultimate Guide to Vanilla Bean Orchid Plant Care: Tips and Tricks
Apr
If you’re a gardening enthusiast looking to grow your very own vanilla bean orchid, you’re in the right place. The vanilla bean orchid (Vanilla planifolia) is not only beautiful but also incredibly rewarding when it blooms and produces its precious vanilla beans. However, growing and caring for this unique plant can be a challenge, especially if you’re new to orchids or tropical plants.
Have you been struggling to get your vanilla orchid to thrive? Are you unsure about the right conditions it needs or how to care for it properly? Don’t worry—you’re not alone! In this comprehensive guide, we’ll walk you through everything you need to know about vanilla bean orchid plant care, from selecting the right soil to mastering the art of propagation and harvesting those aromatic vanilla beans.
Let’s dive in and make your vanilla orchid thrive!
What is the Vanilla Bean Orchid?
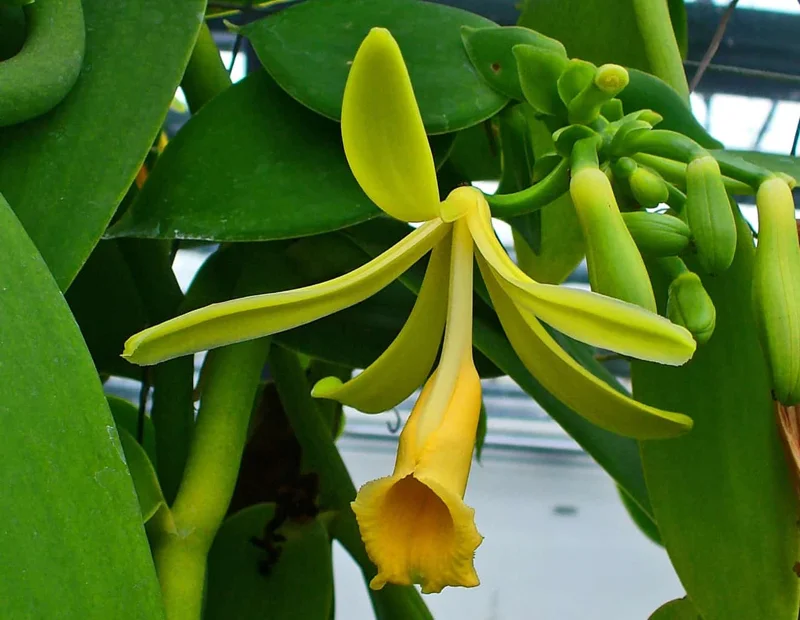
Before we get into the details of care, let’s take a closer look at the vanilla bean orchid and its unique qualities.
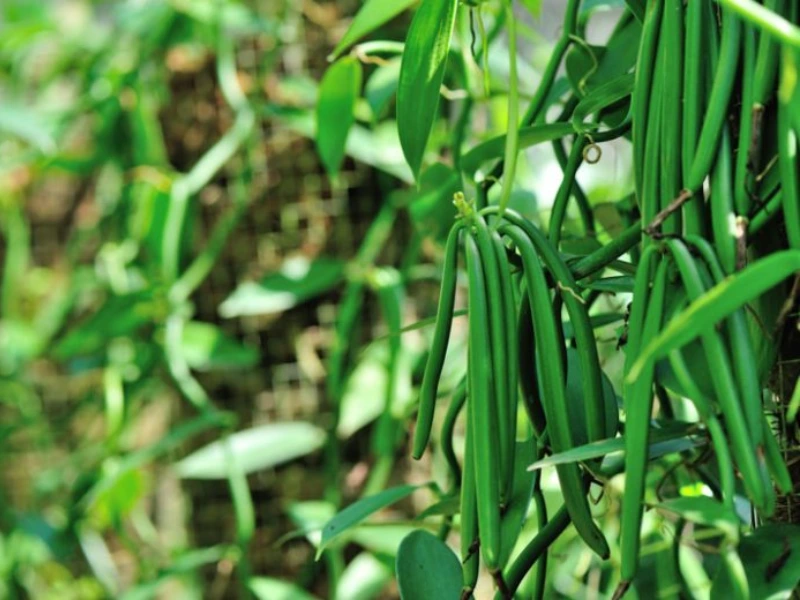
The vanilla bean orchid is native to tropical regions of Mexico, and it’s the source of the vanilla beans used in cooking, perfumes, and other products. Unlike many orchids that grow in the wild, the vanilla orchid is a climbing vine that thrives in warm, humid environments. Unlike typical orchids, the vanilla orchid doesn’t just bloom and sit still—it needs space and attention to grow tall and healthy.
Ideal Growing Conditions for Vanilla Orchids
One of the most important factors when it comes to growing vanilla bean orchids is replicating their natural environment as closely as possible. Here’s what you need to know about the ideal growing conditions:
Temperature and Humidity
-
Temperature: Vanilla orchids thrive in temperatures ranging from 75°F to 85°F (24°C to 29°C) during the day, and slightly cooler at night. They don’t tolerate frost, so they must be kept in a warm environment year-round.
-
Humidity: Since these orchids are native to humid tropical environments, they need high humidity levels to grow properly. Aim for 50-70% humidity. If you live in a dry climate, using a humidifier or placing the plant in a humidity tray can help.
Choosing the Right Soil for Vanilla Orchids
Vanilla orchids are epiphytes, which means they naturally grow on trees in the wild, not in soil. That being said, you still need to use the right soil mix to support their growth.
-
Soil Type: Use a well-draining mix with orchid bark, perlite, and coconut coir to ensure good aeration and prevent waterlogging.
-
pH Level: Vanilla orchids prefer a slightly acidic to neutral pH (around 5.5 to 7.0). Be sure to check the pH of your soil regularly.
How to Plant Vanilla Bean Orchids
Planting a vanilla orchid bean plant can be tricky, but with the right techniques, it’s a rewarding experience.
Step 1: Selecting Your Vanilla Orchid Plant
Start with a healthy vanilla orchid cutting or plant. It’s best to purchase a plant that already has a few roots established.
Step 2: Potting Your Vanilla Orchid
-
Choose a wide, shallow pot with drainage holes to ensure that the roots do not sit in stagnant water.
-
Fill the pot with a well-draining orchid mix and place the vanilla orchid cutting into the soil. Be sure to leave the top of the roots exposed to air.
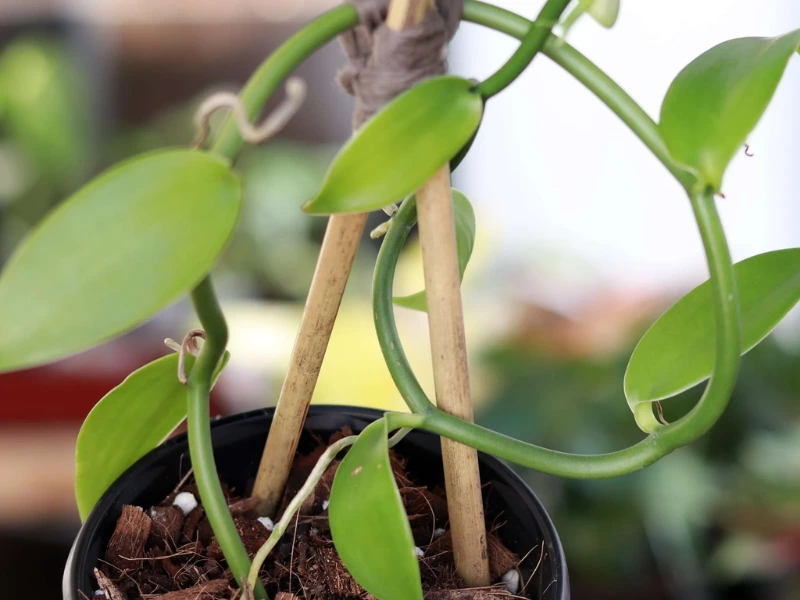
Step 3: Providing Support
Since the vanilla orchid is a climbing vine, it will need something to grow on. Use a wooden stake or a bamboo pole to provide support for the vine. You may also use a trellis to guide the orchid as it climbs.
How to Care for Vanilla Bean Orchids
Once your vanilla bean orchid is planted, it’s important to care for it properly to ensure healthy growth and eventual flowering. Here are some key care tips:
Watering and Feeding Vanilla Bean Orchid
-
Watering: Water your vanilla orchid deeply, but let the soil dry out slightly between waterings. Avoid over-watering, as this can lead to root rot.
-
Fertilizing: During the growing season, feed your orchid with a balanced liquid fertilizer every 2-3 weeks. Choose a fertilizer specifically for orchids that contains equal parts nitrogen, phosphorus, and potassium.
Light Requirements
-
Vanilla orchids need bright, indirect light. Place them near a south or east-facing window, but avoid direct sunlight, as it can scorch the leaves.
Pruning Vanilla Bean Orchid
-
Pruning is essential for keeping your orchid healthy and promoting strong growth. Remove dead or damaged leaves and stems, and prune back any overly long vines to encourage new growth. Be sure to use sterile pruning tools to prevent infection.
-
Pruning is not necessary for your vanilla bean orchid to bloom or produce seed pods. The main reason to prune is to manage the length of the vine if it becomes too long. To prune, locate a spot just below a growth node, and using clean, sharp gardening shears or pruners, snip the vine to your desired length. The cuttings you remove can be used for propagation to grow new plants.
Propagating Vanilla Bean Orchid
While it’s possible to grow a vanilla bean orchid from seed, the process is complex and often unreliable. For this reason, most vanilla orchids are propagated through stem cuttings:
-
Start by snipping a healthy segment of the vine with at least six growth nodes. Remove the two lowest leaves from your cutting—this helps encourage new roots.
-
Get a small pot ready, filled with either moist sphagnum moss or a mix of orchid bark, peat moss, and perlite (equal parts of each).
-
Bury your cutting in the growing medium, making sure to cover the lower nodes. Firmly press the medium around the base to help support the cutting.
-
Insert a plant stake into the pot, and use ties to gently secure your cutting to it—this helps it stay upright while it roots.
-
Keep the growing medium consistently damp for about 4-6 weeks, and be patient. Once you start seeing new growth, you know you’ve been successful! As the cutting begins to vine, move it to a larger trellis where it can grow freely.
Dealing with Common Problems
Even with the best care, vanilla orchids can face a few challenges. Here are some common issues and how to address them:
-
Yellow Leaves: Yellowing leaves often indicate that the plant is getting too much water. Make sure the soil drains well and reduce watering if necessary.
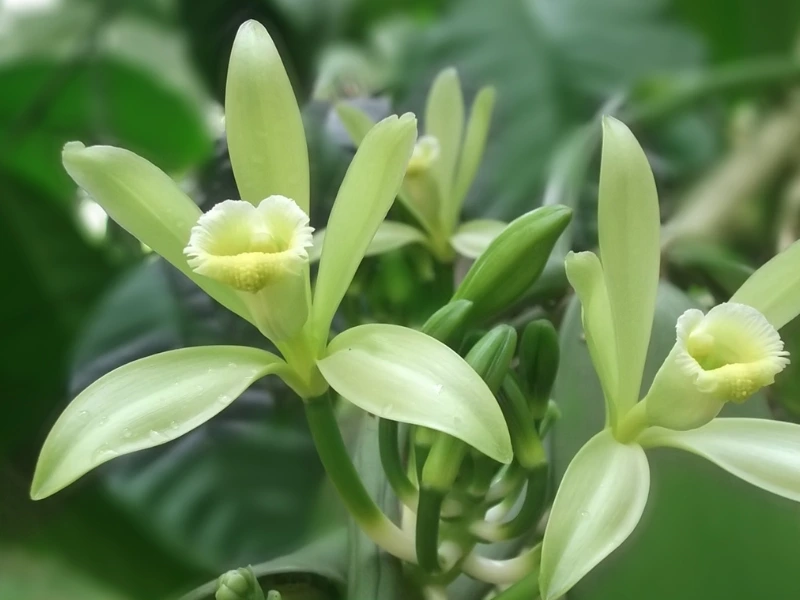
-
Lack of Flowers: If your vanilla orchid is not flowering, it may not be getting enough light or may need more humidity. Ensure it gets proper light and humidity for optimal blooming.
-
Pests: Vanilla orchids can attract pests such as mealybugs and scale. If you notice pests, gently wipe the leaves with a damp cloth or use an insecticidal soap.
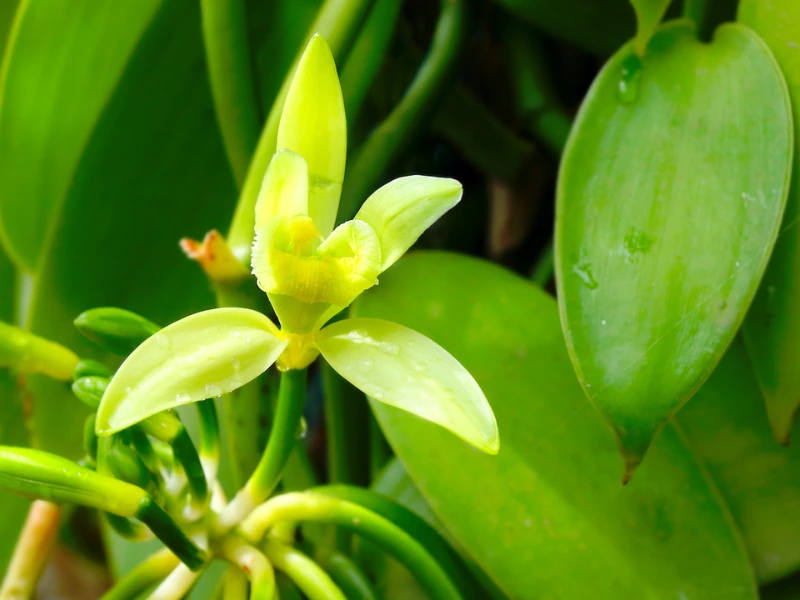
How to Pollinate a Vanilla Bean Orchid
Growing vanilla from orchids requires patience, as it takes about three to five years for the plants to mature and start producing flowers. Once the flowers bloom, they must be hand-pollinated within 12 hours for successful fruit development.
To pollinate, use a chopstick to gently transfer pollen from the stamen of one flower to the stigma of another. After successful pollination, the flowers will wither on the vine, rather than falling off. Within a week, small green pods will begin to form, gradually elongating and maturing into harvestable vanilla pods in about nine to ten months.
Read more: Everything about Gardening Jobs for April You’ll Ever Need
Harvesting Vanilla Beans
Patience is key when it comes to harvesting vanilla beans, as they take about nine months to fully mature. However, growing your own vanilla beans is well worth the wait, especially considering how expensive real vanilla can be and how much of it on the market is synthetic. Imagine the satisfaction of baking or making extracts from your own organic, homegrown vanilla beans—it’s the ultimate artisanal touch!
When and How to Harvest Vanilla Beans
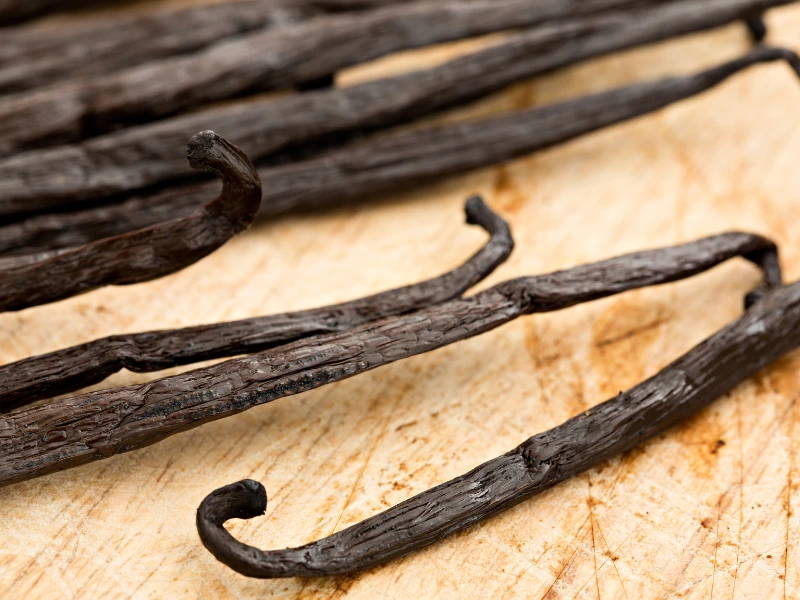
Vanilla beans take about 9 months to a year to mature after the flowers bloom. Once the pods turn from green to a deep brown, they are ready to be harvested.
-
Cut the Pods: Use sharp scissors or pruning shears to carefully cut the vanilla beans from the plant.
-
Curing Process: After harvesting, vanilla beans need to be cured to develop their signature flavor. This process involves blanching, sweating, and drying the beans for several weeks.
Once your beans are ready for harvest, they need to be dried and cured before you can use them in your recipes. After the curing process, soak the beans in a bottle of standard-proof vodka to create homemade vanilla extract. Alternatively, you can split the beans lengthwise, scoop out the fragrant black seeds, and add them directly to your dishes. Your cookies, cakes, and syrups will become the star of any bake sale or family gathering!
Conclusion
Caring for a vanilla bean orchid plant can be incredibly rewarding if you provide the right conditions and care. With the proper temperature, humidity, and soil, your orchid can grow tall and healthy, eventually producing fragrant vanilla beans that can be harvested and used for cooking or other purposes.
Whether you’re a seasoned gardener or just starting, this guide will help you ensure that your vanilla bean orchid thrives. So, get started today and enjoy the beauty and benefits of this amazing plant!
Frequently Asked Questions About Vanilla Bean Orchid Care
Q1: How often should I water my vanilla orchid?
Water your vanilla orchid when the top inch of soil feels dry. Typically, this will be every 7-10 days, but it may vary depending on the environment. Always ensure the pot has good drainage to avoid overwatering.
Q2: Can I grow vanilla orchids indoors?
Yes, vanilla orchids can thrive indoors with proper care. Ensure they receive bright, indirect light, maintain high humidity (50-70%), and stay in warm temperatures of 75-85°F during the day.
Q3: How long does it take for a vanilla orchid to produce beans?
It typically takes 3-5 years for a vanilla orchid to produce flowers, and another 9 months to a year for the beans to mature after blooming.
Q4: Why isn’t my vanilla orchid flowering?
If your vanilla orchid isn’t flowering, it may not be getting enough light or humidity. Ensure it receives bright, indirect light and the humidity stays between 50-70%.
By following these simple steps and tips, you’ll be well on your way to successfully growing and caring for your vanilla orchid. Happy gardening!