Seed Tips
How to Grow Hollyhocks from Seed: A Step-by-Step Guide

Feb
Have you ever dreamed of a garden filled with tall, vibrant hollyhocks dancing in the breeze? But when you try to grow Hollyhocks from seed, you end up with weak seedlings, low germination rates, or plants that refuse to bloom? You’re not alone!
Hollyhocks (Alcea rosea) are gorgeous biennials or short-lived perennials that bring a classic, cottage-garden charm to any space. However, starting them from seed can be a bit tricky if you don’t know the right techniques.
But don’t worry—this guide will walk you through the entire process, from choosing the best seeds and ensuring proper germination to caring for your hollyhocks so they bloom beautifully year after year.
What are Hollyhocks?
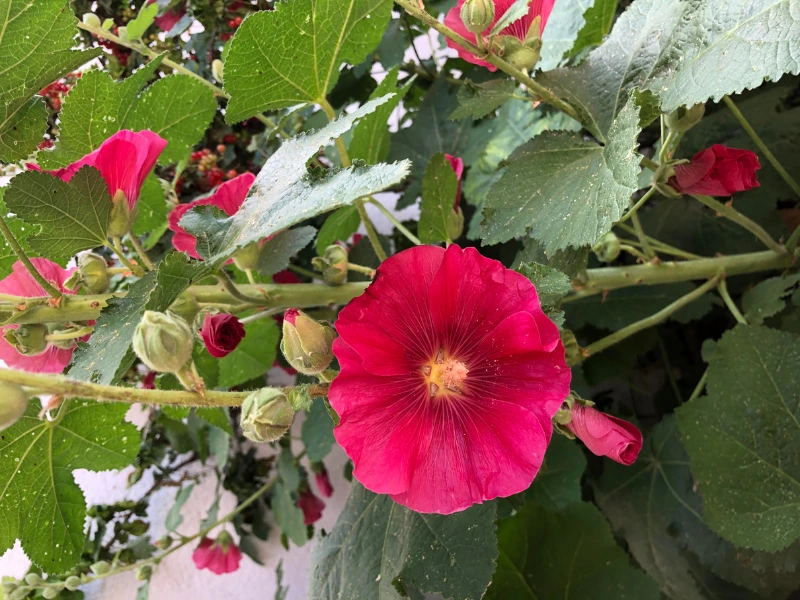
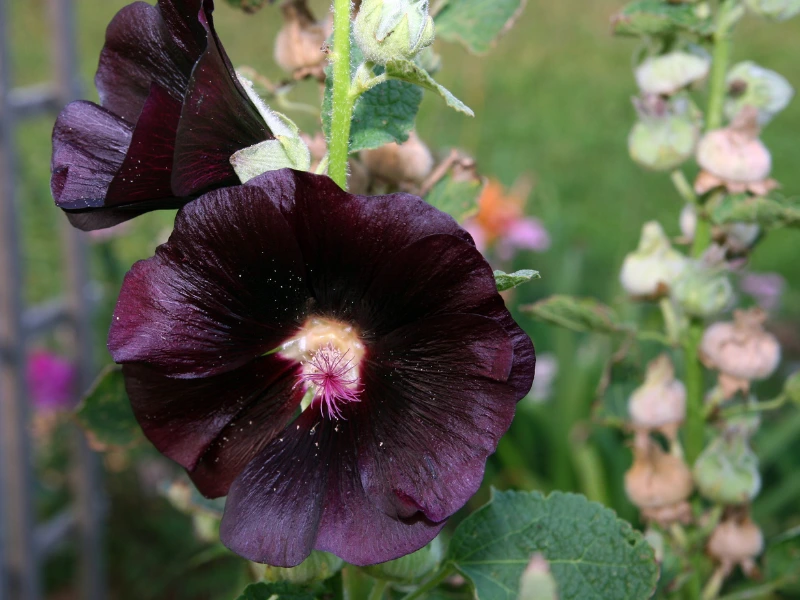
Hollyhocks (Alcea rosea) are stunning biennial or short-lived perennial flowers that bring a charming, old-fashioned feel to any garden. These tall, elegant flowers have been cultivated for centuries, gracing cottage gardens with their impressive spikes of double or single blooms. They produce thousands of seeds, making them easy to propagate and share with fellow gardeners.
While hollyhocks are typically started from seed in the fall or spring, they can also be purchased as bare-root plants or container-grown specimens. Traditional hollyhocks are biennial, meaning they require two years to complete their life cycle—leafy growth the first year and blooms the second. However, some varieties will flower in their first year if started early indoors.
Planting Hollyhocks rom Seed
Best Time to Plant Hollyhock Seeds
Timing is key when it comes to hollyhocks. The best time to plant seeds depends on your climate:
-
Spring planting (March–May): Ideal for areas with long growing seasons.
-
Fall planting (August–October): Works well in regions with mild winters, allowing hollyhocks to establish before blooming next year.
If you live in an area with harsh winters, starting seeds indoors a few weeks before the last frost can give your plants a head start.
Choosing the Right Location
When planting hollyhocks, choosing the right location is key to growing tall, vibrant blooms! These sun-loving beauties thrive in full sunlight, needing at least 6-8 hours of direct sun each day to reach their full potential. For healthy growth, plant them in well-draining soil—a slightly sandy or loamy mix works best. Since hollyhocks grow tall and can become top-heavy, they appreciate a spot that’s sheltered from strong winds, like near a fence or wall for natural support. Lastly, don’t forget about good air circulation—proper spacing helps prevent common fungal issues like rust, keeping your hollyhocks looking fresh and fabulous all season long!
Preparing the Soil
A good start means stronger plants! Here’s how to prep your soil:
-
Loosen the soil – Use a garden fork or tiller to break up compacted soil.
-
Mix in compost – Adds nutrients and improves moisture retention.
-
Adjust pH if needed – Hollyhocks prefer soil with a pH of 6.0 to 7.5.
-
Remove weeds – This prevents competition for nutrients and water.
-
Mulch lightly – A thin layer of organic mulch helps retain moisture and suppress weeds.
How to Plant Hollyhocks

Now for the fun part—sowing your hollyhock seeds!
If you live in a warmer climate with a well-prepped garden bed, you can sow seeds directly outdoors. Simply scatter them on the soil surface and cover lightly with ¼ inch of soil. Space them 12-18 inches apart to give them room to grow. Keep the soil moist but not soggy, and in 10-14 days, you’ll start to see tiny sprouts!
For gardeners with a short growing season, starting hollyhock seeds indoors is a great option. Use peat pots or deep seed trays to accommodate their long taproots. Plant seeds ¼ inch deep in a moist potting mix, and keep them in a warm, bright spot (around 65-75°F / 18-24°C). Once your seedlings reach 3-4 inches tall, they’ll be ready to transplant outdoors and take off!
It’s finally time to move your seedlings outdoors! Find a sunny spot with well-draining soil—hollyhocks love that. Once you’ve picked the perfect location, dig holes as deep as the height of your seedling’s pot. Gently take the plant out and place it right into the hole. Easy, right?
Now, cover it up with soil and water regularly for the next few days. This will help the roots settle in and grow strong.
How to Grow Hollyhocks
Watering
Hollyhock seedlings need consistent moisture to develop strong roots. Water them gently, ensuring the soil remains evenly moist but never waterlogged. Overwatering can lead to root rot, while underwatering may cause stunted growth. The key is deep but infrequent watering, ideally in the morning, so the foliage has time to dry during the day.
Thinning
Once your hollyhock seedlings reach 2-3 inches tall, it’s time to thin them out. Overcrowding can lead to weak, leggy plants that compete for nutrients and airflow. Space them about 18 inches apart to allow proper root expansion and better air circulation, which helps prevent fungal diseases like rust. If pulling out excess seedlings feels wasteful, consider transplanting them to another spot in the garden.
Fertilizing
Hollyhocks aren’t heavy feeders, but a little boost will go a long way. Apply a balanced, all-purpose fertilizer (10-10-10) once a month to encourage strong stems and vibrant foliage. If you prefer organic options, use compost tea or a slow-release organic fertilizer. Avoid over-fertilizing, as too much nitrogen can lead to excessive leaf growth at the expense of flowers.
Mulching
Adding a thin layer of organic mulch (like straw, shredded leaves, or compost) around your seedlings will help maintain soil moisture and prevent weeds from competing for nutrients. However, don’t pile mulch directly against the stems, as this can trap moisture and encourage rot. A 1-2 inch layer around the base of the plants is ideal.
Protection from Pests
Hollyhock seedlings can attract aphids, slugs, and flea beetles. To keep them at bay:
-
Spray a diluted neem oil solution (once a week) to deter aphids and other small pests.
-
Place crushed eggshells or diatomaceous earth around the base of the plants to discourage slugs.
-
Introduce beneficial insects like ladybugs, which naturally control pest populations.
Staking if needee: As hollyhocks grow taller, they can become top-heavy, especially in windy conditions or heavy rain. If you notice them starting to lean, gently stake them with bamboo stakes or garden twine to provide support. This is especially important for varieties that grow over 6 feet tall. Secure the stems loosely to allow for natural movement and prevent breakage.

Hardening Off: Preparing Seedlings for Outdoor Life
Before planting hollyhock seedlings in their final garden location, they need to go through a process called hardening off. This step gradually exposes them to outdoor conditions, preventing transplant shock.
-
Start about 7-10 days before transplanting.
-
Place the seedlings outside in a shady, sheltered spot for a few hours each day, gradually increasing sun exposure.
-
Avoid exposing them to strong winds or direct midday sun too soon.
-
After a week, they should be ready for full sun and garden planting.
Taking this extra step will ensure your hollyhocks transition smoothly from seedling trays to the garden, giving them the best chance to thrive.
Final Thoughts
Growing hollyhocks from seed takes patience, but the reward is worth it—tall, elegant blooms that attract butterflies and hummingbirds! Whether you’re a beginner or an experienced gardener, these classic flowers will add a timeless charm to your garden for years to come.
Have you grown hollyhocks before? Share your experience in the comments below! Happy gardening!